Tooth Fairy Receipt
This post contains affiliate links, please read our disclaimer policy.
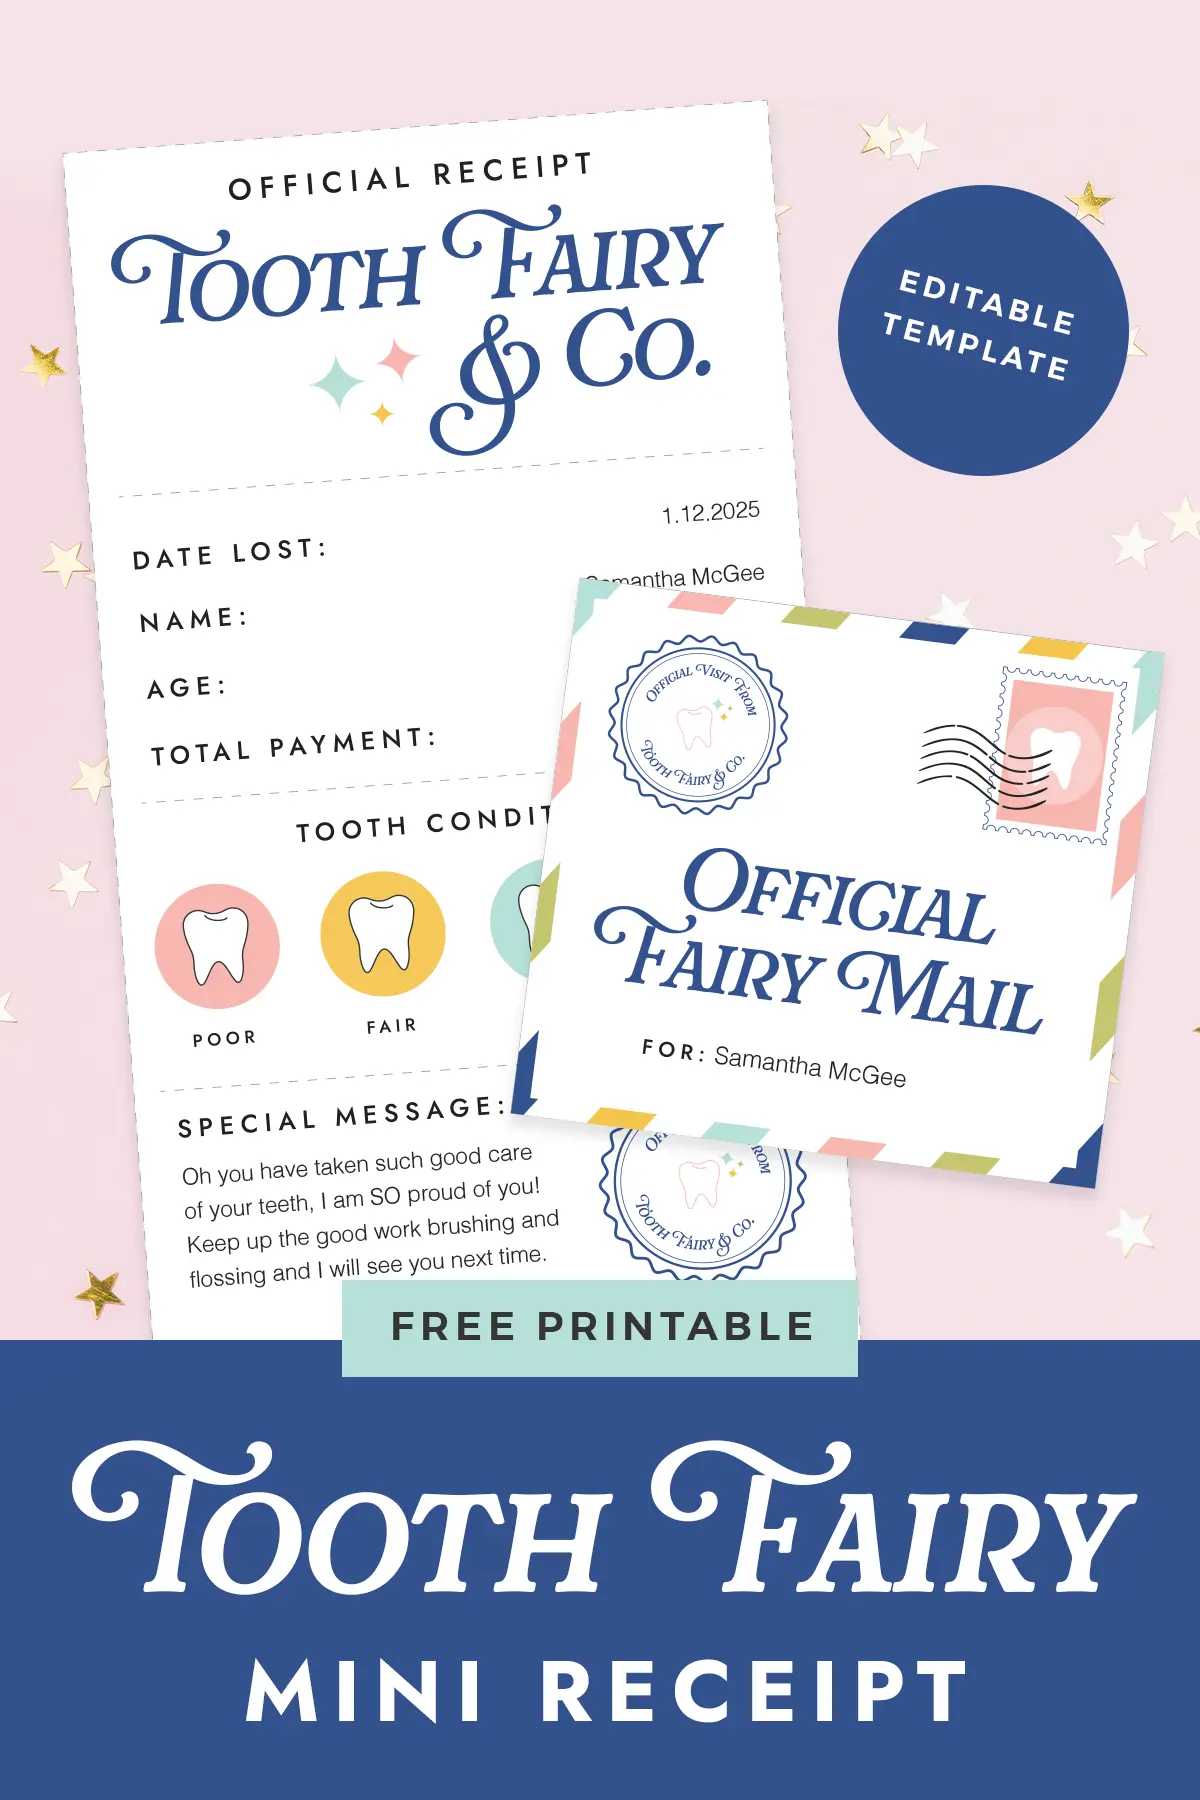
Make your child’s next visit from the tooth fairy even more magical with this free printable tooth fairy receipt! It’s a fun and easy way to add a little magic to your child’s day.
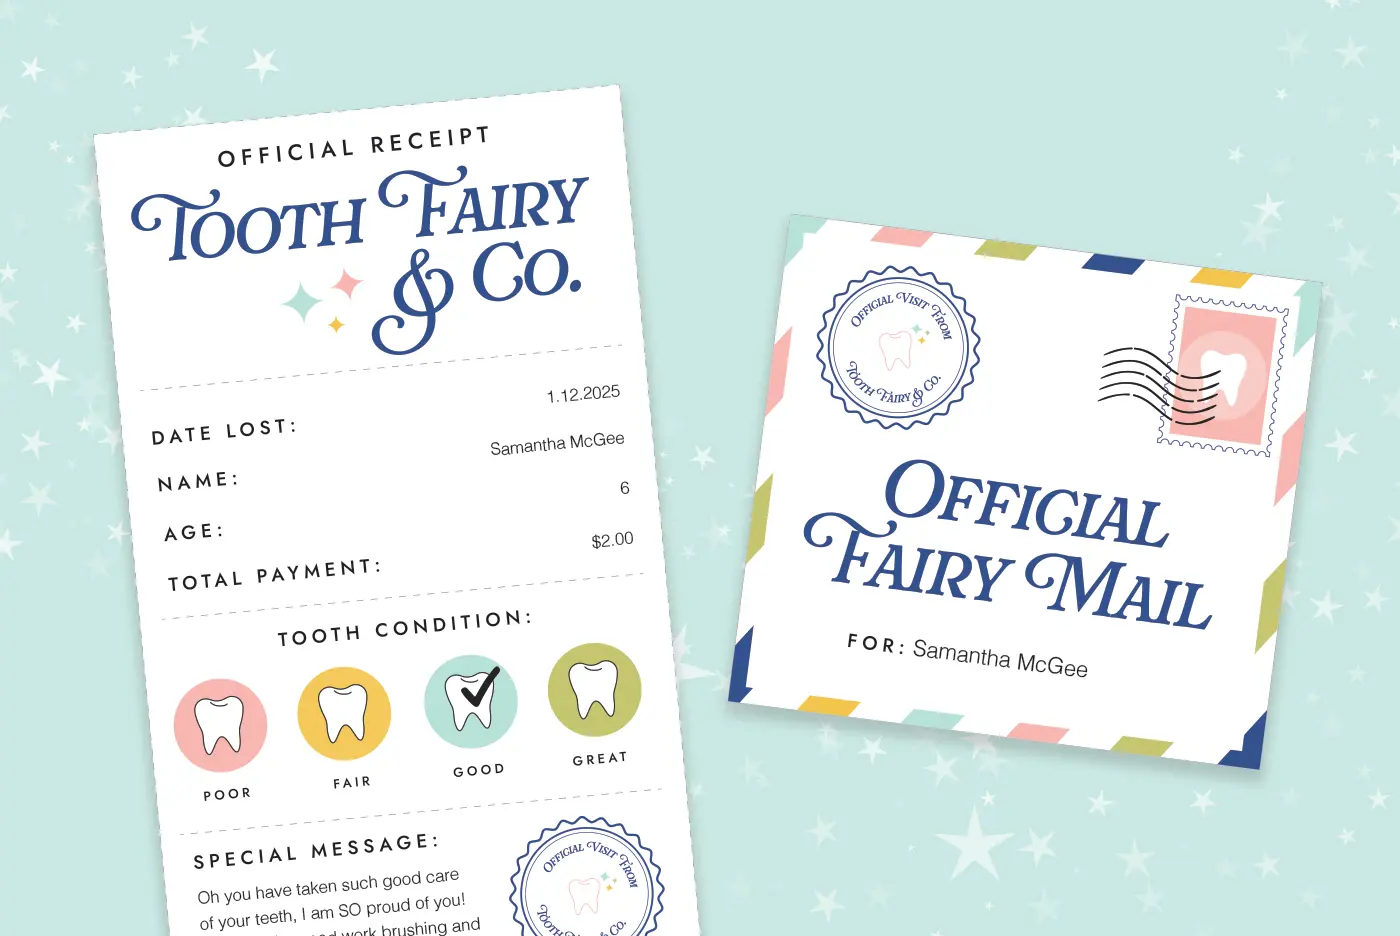
Free printable tooth fairy receipt
The tooth fairy is of course a fun pastime in almost every house! I remember growing up and getting so excited to find a dollar under my pillow in the morning after working so hard the night before to pull out a tooth. So, when we had kids, I of course had to pass that excitement onto them! We try to stick to just a dollar for their teeth and will sometimes sprinkle some glue and glitter on it if i’m thinking about it. But, let’s be real, most days i’m scrambling at 6am to shove something in there because I forgot the night before!
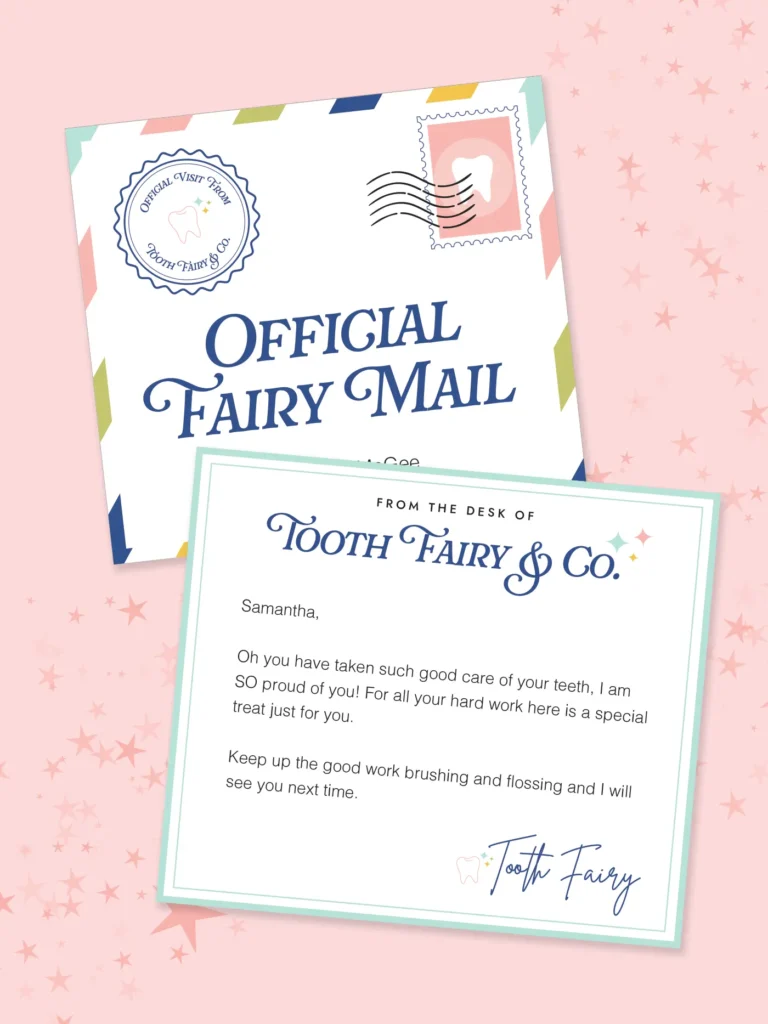
Well, if you’re more prepared than me, then you may love this fun tooth fairy receipt! I thought it would be such a unique and fun way to add some magic to the tooth fairy experience and make it much more real! And for even more magic you can pair it with our tooth fairy letter!
Editable receipt from the tooth fairy
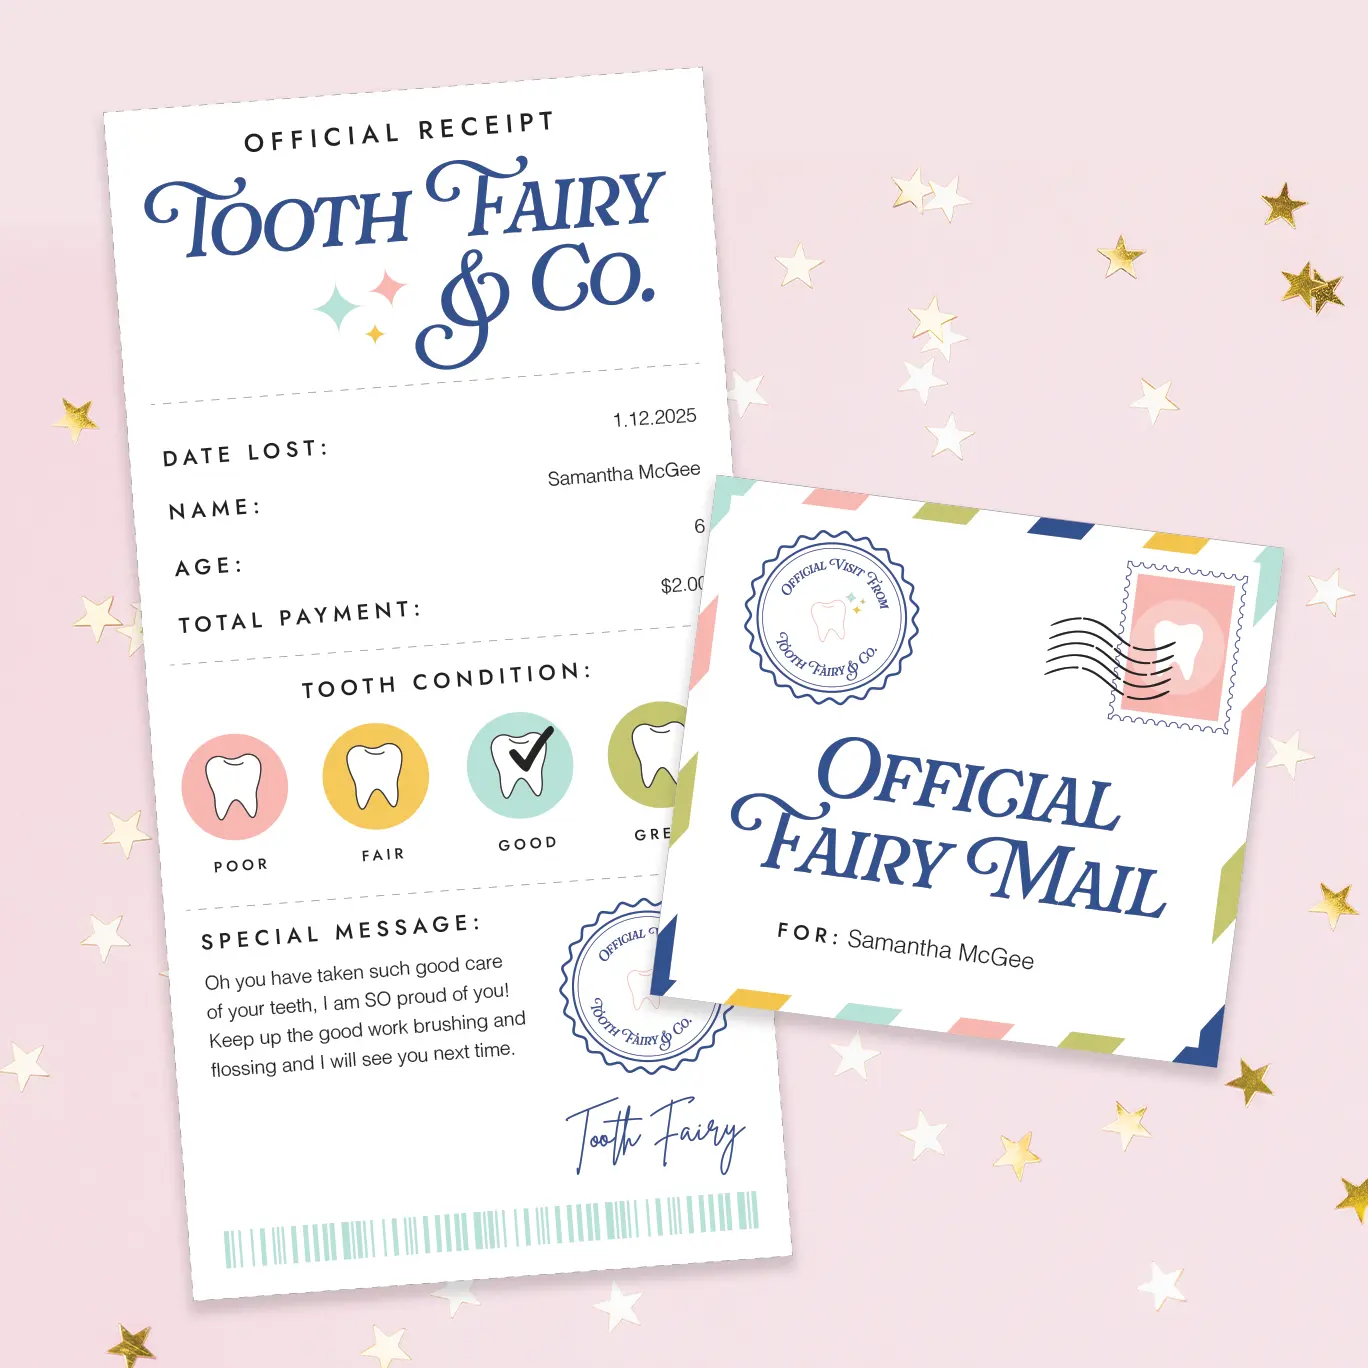
I created this template with the idea that you can easily add in your child’s information before printing to make it more official! Just fill in the date they lost their tooth, their name, how much they received and a short special message unique to them!
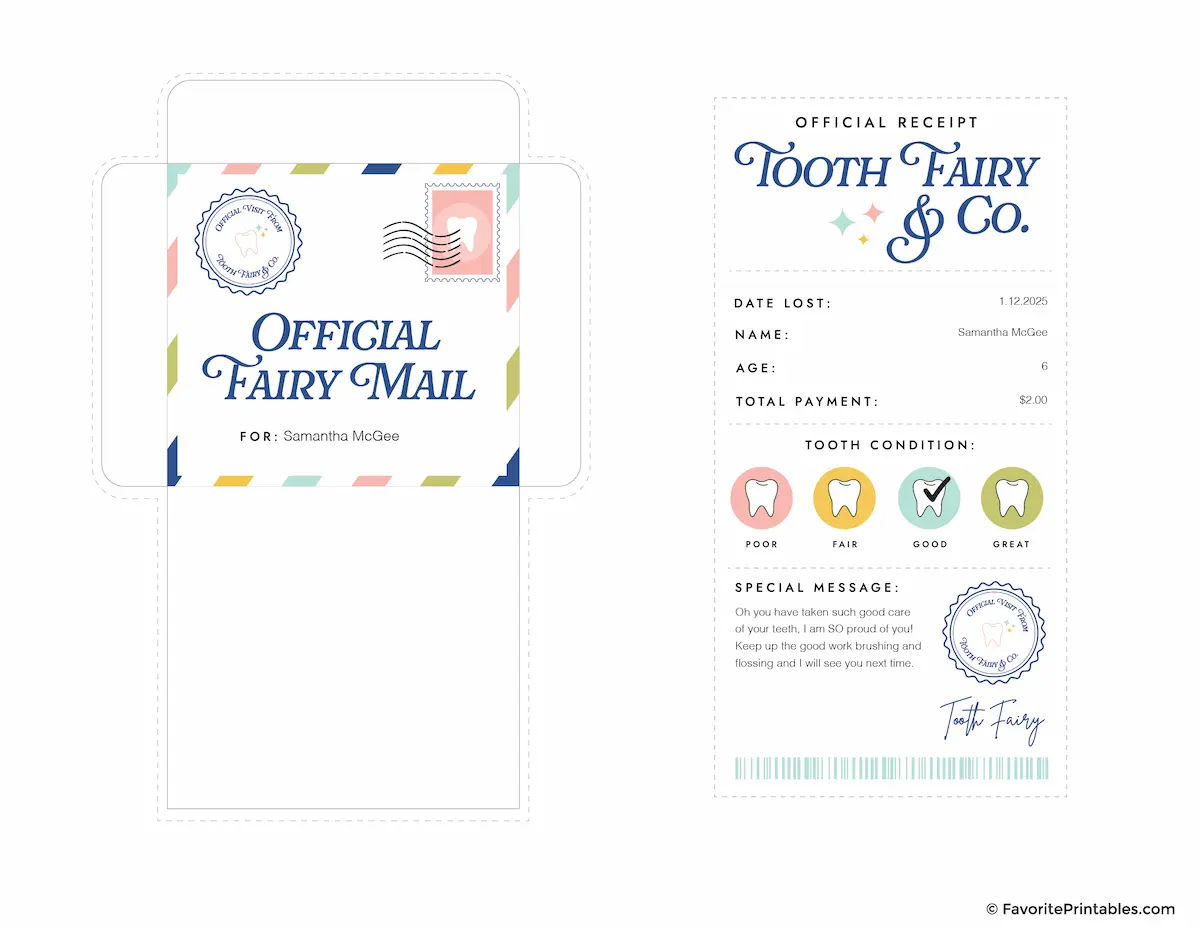
What’s Included:
- Editable tooth fairy receipt
- Mini tooth fairy envelope
Supplies Needed:
Below are the supplies I recommend to get the best out of your new printable!
- Bright White Cardstock (not required but makes it pretty!)
- Printer (this HP ones my favorite)
- Scissors
- Glue or tape
Putting your receipt and envelope together
One you open up the PDF below you can type directly into the template to fill in the blanks. Once you’ve filled out your receipt you will also want to make sure to include your child’s name on the envelope template.
After the receipt is all filled out you can print your template and start piecing it together! The receipt is pretty easy, just fill in the blanks.
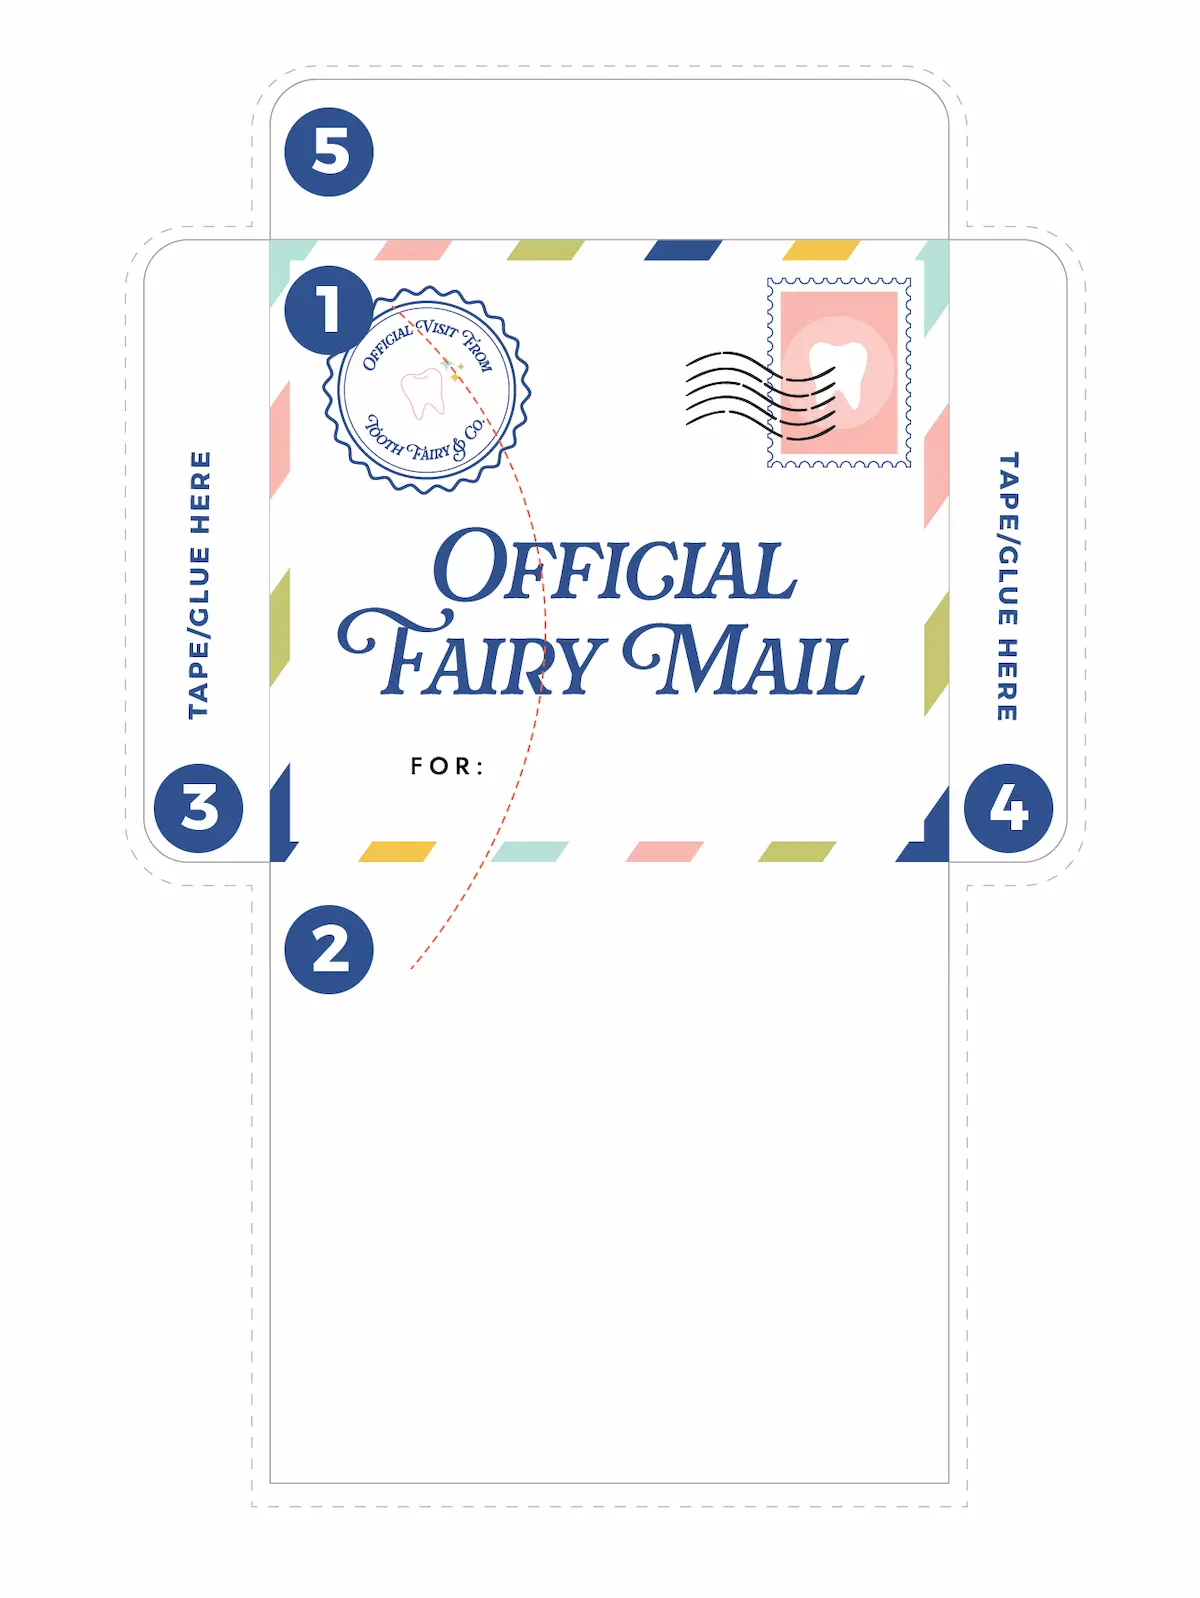
Putting together your envelope
- Cut out the envelope
- Fold section 1 and section 2 down the middle
- With those folded, then fold section 3 and section 4 over section 2 and glue them down
- You should now have a “pocket” to place the letter in
- After the letter is inserted you will fold over section 5 to close the envelope
How to edit this template
This free PDF template is editable with Adobe Reader, if you don’t have this yet I highly recommend it for anyone! It allows you to easily fill out content, sign forms and much more. But even more than that, it allows you to easily edit this template with your own content!
Fill it out using Adobe Reader
Once you download this PDF you’ll want to open it using Adobe Reader (free to use) and type in your child’s info directly into the PDF! Once you’ve added in your message you can print it off!
Get the FREE tooth fairy receipt
Ready to print your free receipt? Use the download button below to grab your free printable and enjoy!
If you have any issues or questions please check our FAQ page for troubleshooting tips!
Download your printable receipt!
Click the download link below for your immediate PDF download!
Email This Article + More Printables!
Enter your email below and we’ll email a link to this post so you can find it later. Plus you’ll be signed up for future printables with our newsletter!
By submitting this form, you consent to receive emails from Favorite Printables.
Are you a teacher? Make sure to use your personal email, some school systems will block outside emails!
Categories:
Traditions

I love comments from you, so feel free to leave your thoughts and ideas below! Please remember this is a fun site, if you have any issues with a printable you can contact us directly. Thanks so much!